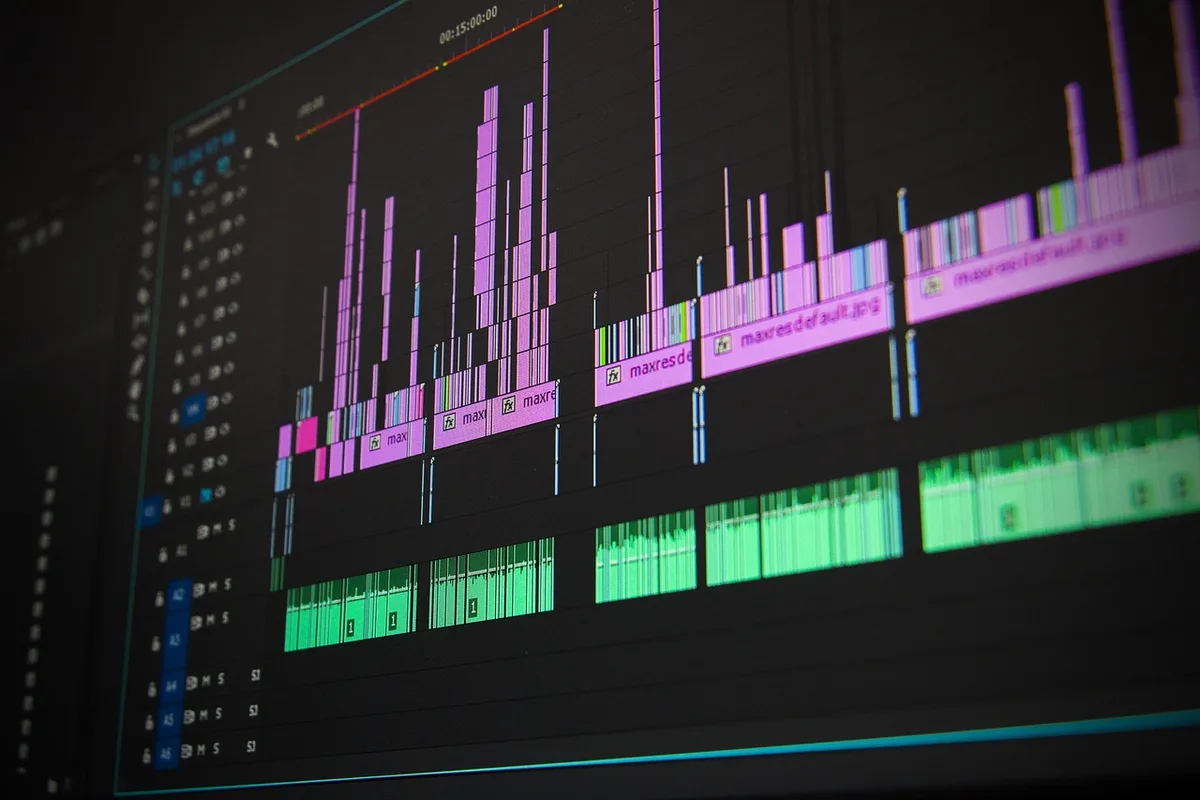

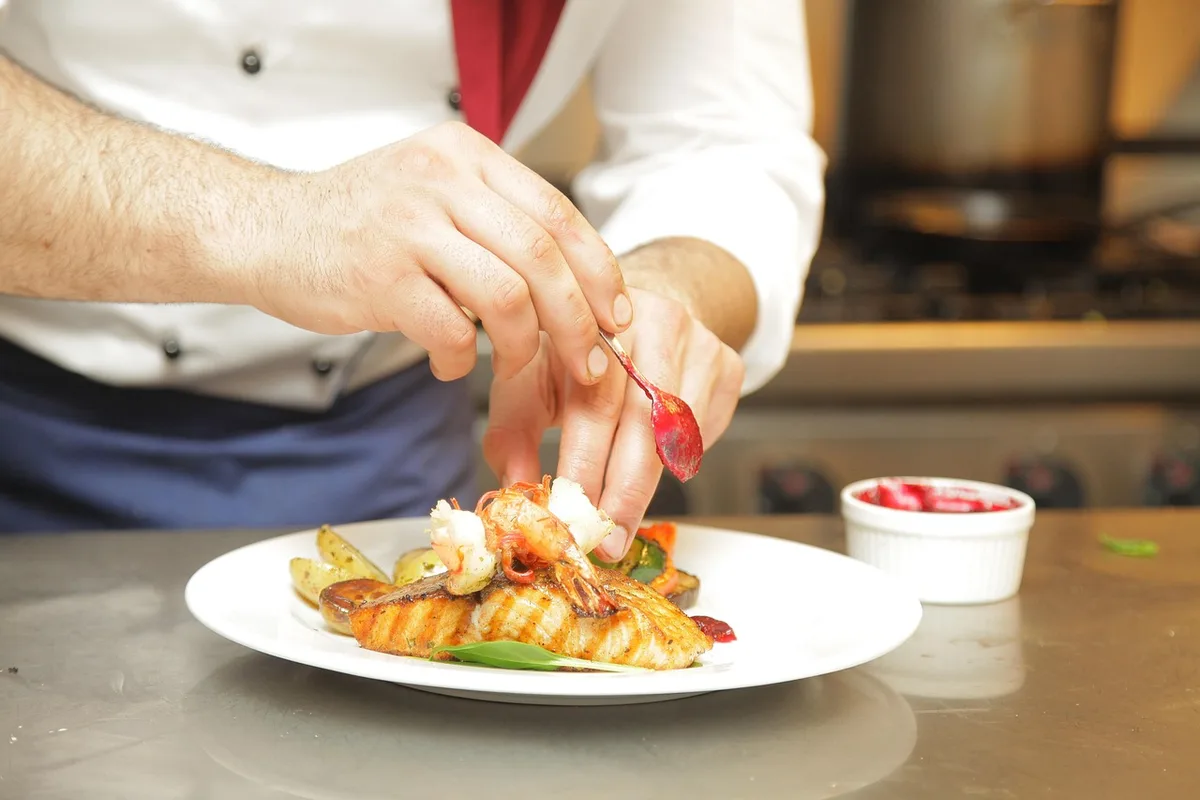
You've filmed a great cooking session—the food looked amazing on set—but the raw footage feels flat and slow. Viewers scroll past because the sizzle doesn't pop and the steps drag. Editing is where good cooking videos become binge-worthy. Here's how to edit cooking videos that keep people watching until the last bite.
Start with a Story, Not Just Steps
Before you touch a timeline, decide what the video is really about. Is it a quick weeknight dinner? A show-off weekend project? A budget-friendly meal? That story shapes every cut.
A common mistake is treating editing as just stitching clips in order. Instead, structure your video like a mini-story:
- Hook (0–5 seconds): Show the finished dish or a dramatic moment (cheese pull, sauce pour, first bite).
- Setup (5–15 seconds): Briefly show ingredients and the goal ("15-minute garlic noodles").
- Process (bulk of video): Step-by-step, but cut ruthlessly.
- Payoff (last 10–15 seconds): Final plating, taste test, and a clear call to action.
Write a simple script or shot list before filming—it makes editing 10x faster because you already know which shots you need.
Organize Your Footage Like a Pro
A messy media bin kills editing speed. Spend five minutes organizing before you cut.
- Create bins/folders: A-roll (talking head), B-roll (process shots), ingredients, finished dish, graphics, music/SFX.
- Rename clips descriptively: "01_chopping_garlic" is better than "IMG_2043".
- Flag your best takes: Use markers or color labels for hero shots (the perfect sear, the stretchy cheese).
- Sync audio first: If you recorded separate audio, sync it now using clapboards or software like PluralEyes.
This upfront work saves hours of scrubbing later.
Cut for Pace: The 85% Rule
Cooking videos live or die by pacing. Viewers don't need to see every stir. Use the 85% rule: if a step takes 10 minutes in real life, show about 85% less—roughly 1.5 seconds per action.
- Trim dead air: Cut the moment before you start chopping and after you finish.
- Use jump cuts: Remove pauses between sentences in voiceover or talking-head segments.
- Speed ramp repetitive tasks: Stirring, kneading, or whisking can be sped up 2x–4x with a smooth ramp.
- Match cuts: Cut on action—when the knife hits the board, when the pan flips. This feels seamless.
A good target: a 5–8 minute recipe video should have 40–60 cuts. That sounds like a lot, but it keeps energy high.
Make the Food Look Irresistible: Color and Detail
Your camera's default profile is often flat. A few color adjustments make food pop.
- Boost saturation slightly (but don't overdo it—orange skin tones look fake).
- Increase contrast to make textures (crust, grill marks) stand out.
- Warm up the white balance a touch—food looks more appetizing with warmer tones.
- Use a subtle vignette to draw the eye to the center of the frame.
In your editor (Premiere Pro, Final Cut Pro, DaVinci Resolve), use Lumetri Color or color wheels. Save your grade as a preset for consistency across videos.
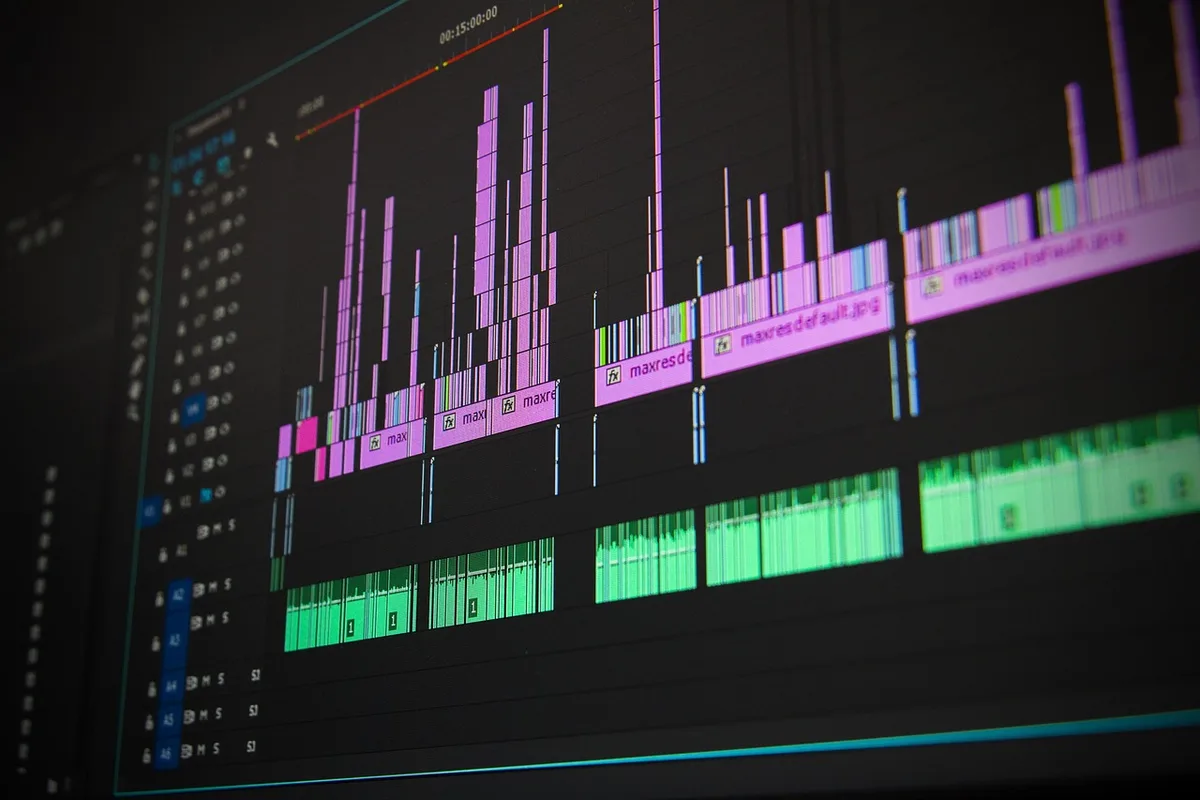
Sound Design: The Secret Ingredient
Viewers "taste" with their ears. Crispy, sizzling, and crunching sounds trigger appetite. Don't rely on camera audio alone.
- Record foley: Capture close-up sounds of chopping, sizzling, pouring, and biting with a separate mic.
- Layer SFX: Add subtle sizzle under wide shots, a crunch when someone bites, a pour sound when sauce hits the pan.
- Sync sounds to visuals: The sizzle should start exactly when the food hits the hot pan—not a frame late.
- Use music that doesn't compete: Choose low-key, rhythmic tracks and duck them under voiceover (sidechain compression or manual keyframes).
A quick trick: add a 2-frame white flash (or a quick whoosh SFX) on major cuts to make transitions feel intentional.
Add On-Screen Text and Graphics That Help
Text isn't just decoration—it's functional. Viewers often watch on mute.
- Ingredient lists: Show quantities as text overlays when you add each ingredient.
- Step labels: "Step 1: Sear the chicken" helps people follow along.
- Timers: A countdown graphic for baking or simmering builds suspense.
- Tips callouts: "Pro tip: salt your pasta water" in a corner.
Keep fonts clean and readable (sans-serif, high contrast). Use brand colors consistently. In Premiere Pro, use Essential Graphics; in Final Cut, use Titles and Generators.
Export Settings That Don't Ruin Your Hard Work
Wrong export settings can make your crispy fried chicken look like a blurry mess.
- Resolution: Match your sequence settings (usually 1080p or 4K).
- Frame rate: Keep it consistent (24, 30, or 60 fps). Don't mix.
- Bitrate: For YouTube, 1080p at 12–15 Mbps is fine; 4K at 35–45 Mbps.
- Format: H.264 for broad compatibility; H.265 for smaller files if your editor supports it.
- Audio: AAC, 320 kbps, stereo.
Always watch your export on a phone and a computer before uploading—what looks good on a calibrated monitor might look dark on mobile.
A Practical Workflow You Can Start Today
Here's a simple editing workflow to try on your next cooking video:
- Organize and sync footage (10 min).
- Build a rough cut following your story structure (20 min).
- Refine pacing with jump cuts and speed ramps (15 min).
- Add B-roll and cutaways to hide cuts and show details (10 min).
- Color grade with a saved preset (5 min).
- Add sound design (foley, music, SFX) (10 min).
- Add text and graphics (10 min).
- Export and review on multiple devices (5 min).
That's about 85 minutes for a 5-minute video—totally doable once you practice.
The Takeaway
Great cooking videos aren't just about the recipe—they're about rhythm, appetite appeal, and clarity. Start with a story, cut ruthlessly, make the food look and sound delicious, and guide viewers with text. Try the 85% rule on your next edit and see how much tighter your video feels.
If you'd rather focus on cooking and leave the editing to the pros, MLHMTECH offers professional video editing and content production services for creators and brands. Visit mlhmtech.com to see how they can help you serve up polished, mouth-watering videos every time.