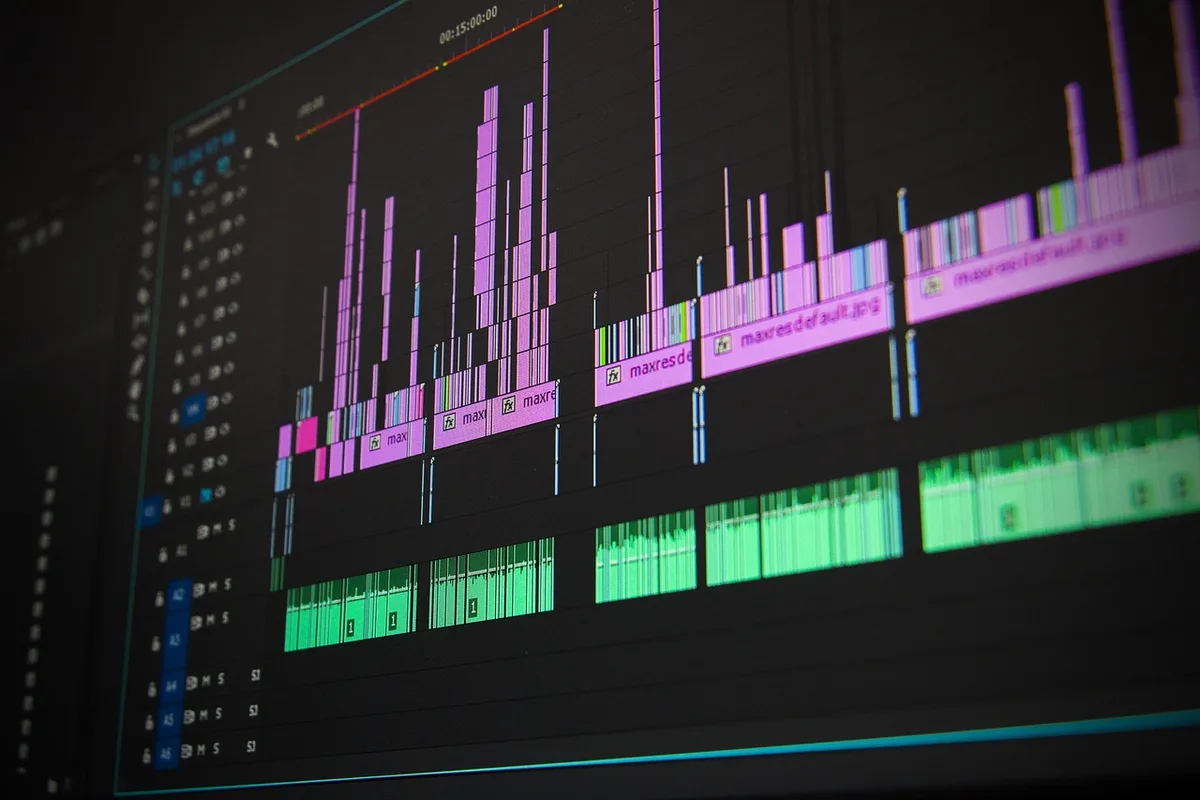

You've recorded a lecture or a tutorial, and now you're staring at a timeline full of ums, pauses, and shaky camera moves. Editing educational videos isn't about flashy effects—it's about clarity, pacing, and helping students learn. This guide walks you through a repeatable workflow that works whether you're using Premiere Pro, Final Cut Pro, DaVinci Resolve, or even CapCut.
Start with a Plan, Not a Timeline
Before you touch a single clip, know what the final video needs to do. Educational videos fail when they try to cover too much or meander without a clear structure. A little pre-production saves hours in the edit.
- Write a one-sentence goal. Example: "By the end of this video, students will be able to balance a chemical equation." Every cut should serve that goal.
- Create a shot list or segment outline. Even for a talking-head video, list the key points in order. This becomes your editing roadmap.
- Gather all assets in one folder. Slides, screen recordings, B-roll, graphics, music, and sound effects. Name files clearly (e.g.,
lesson3_intro.mp4,graphic_equation.png). - Check your recording settings. For screen recordings, 1080p at 30fps is plenty. For talking-head, shoot at 24 or 30fps with clean audio. Mismatched frame rates cause headaches later.

Organize Your Project Like a Pro
A messy project slows you down and makes revisions painful. Set up your editing software with a consistent structure.
- Create bins or folders for Footage, Audio, Graphics, and Exports.
- Use color labels for different types of clips (e.g., green for A-roll, blue for B-roll, red for graphics).
- Set your sequence settings to match your footage. For most educational content, 1920x1080 at 30fps is standard. If you're delivering to a learning management system (LMS), check its requirements—some prefer 720p to save bandwidth.
- Save a project template with your bin structure and sequence settings so you can reuse it for every lesson.
Cut for Clarity, Not Speed
Students can't rewind a live lecture, but they can pause a video. That doesn't mean you should leave in every pause and repetition. The goal is a pace that feels natural but respects the viewer's time.
- Remove dead air and filler words. Use ripple delete (Premiere Pro: Shift+Delete; Final Cut Pro: Shift+Delete) to close gaps quickly. Don't overdo it—some pauses help ideas sink in.
- Cut on action or mid-sentence. Hard cuts in the middle of a phrase feel smoother than cutting between sentences.
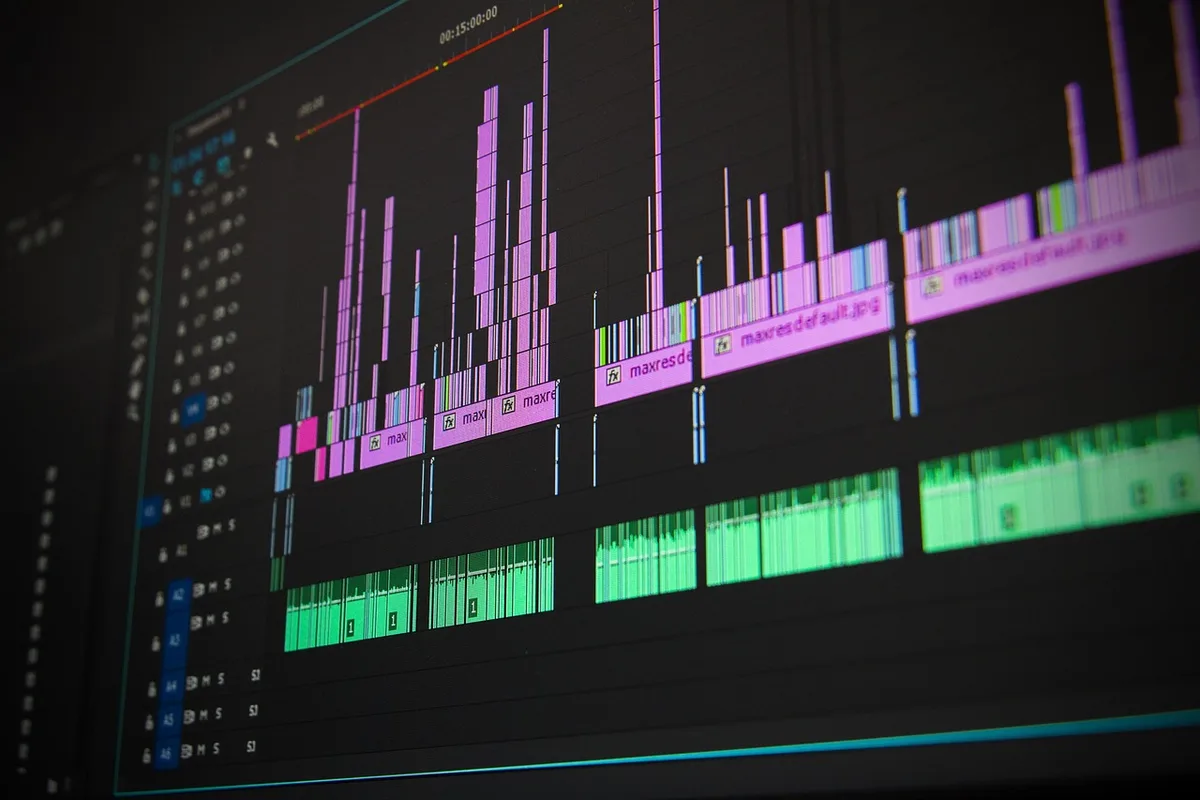
- Use J-cuts and L-cuts for smooth transitions. Let the audio from the next clip start before the video cuts, or let the previous audio trail over the new visual. This is especially useful when moving from a talking head to a slide.
- Keep segments under 6 minutes. Research on attention spans suggests breaking content into chunks with clear visual or verbal signposts ("Now let's look at the second step").
Make Audio Your Priority
Bad audio ruins an educational video faster than bad video. Students will forgive a slightly soft focus, but they won't forgive echo or background hum.
- Record with a dedicated microphone. A lavalier or USB mic (like the Blue Yeti or Rode Wireless GO) costs less than $150 and makes a huge difference.
- Apply noise reduction sparingly. In Premiere Pro, use the DeNoise effect; in Audition, use the Noise Reduction process. Over-processing makes voices sound robotic.
- Normalize levels to -14 LUFS for online platforms like YouTube, or -16 LUFS for podcasts. Use the Loudness Radar or a free plugin like Youlean Loudness Meter.
- Add subtle background music. Keep it at -25 to -30 dB under the voice. Use royalty-free tracks from YouTube Audio Library, Epidemic Sound, or Artlist. Avoid music with lyrics during explanations.
Use Graphics and Text to Reinforce Learning
On-screen text and simple graphics help students remember key terms and steps. But too many animations distract.
- Lower thirds for names and titles. Keep them on screen for at least 3 seconds.
- Highlight key terms with bold text or a colored box. Use a consistent style guide (e.g., all key terms in blue).
- Animate simple diagrams. In PowerPoint or Keynote, use the Morph transition to show a process step-by-step, then export as a video or screen record it.
- Avoid full-screen text walls. If you need to show a long quote or formula, break it into smaller pieces or use a callout box.
Export Settings That Work Everywhere
Different platforms have different requirements. A single export won't fit all.
- For YouTube and Vimeo: H.264, 1080p, 30fps, bitrate 12-15 Mbps. Audio: AAC, 320 kbps.
- For LMS (Canvas, Moodle, Blackboard): Often prefer MP4 with H.264 at 720p to keep file sizes manageable. Check your institution's guidelines.
- For social media (Instagram, TikTok): Vertical 1080x1920, 30fps, bitrate 8-10 Mbps. Keep text large and centered.
- Always export a master file at the highest quality (ProRes or DNxHD) for archiving, then create compressed versions from that.
A Real Example: Editing a 10-Minute Math Tutorial
Suppose you've recorded a 15-minute screen recording with voiceover. Here's how the edit might go:
- Rough cut: Remove the first 30 seconds of setup and the last minute of "any questions?"
- Tighten: Cut out pauses longer than 1.5 seconds and any repeated explanations.
- Add graphics: Overlay the key formula at the 2-minute mark and keep it on screen for 10 seconds.
- Audio: Normalize voice to -14 LUFS, add soft background music at -28 dB.
- Export: H.264 1080p for YouTube, and a 720p version for the LMS.
The final video is 8 minutes long, clear, and easy to follow.
Practical Takeaway: Build a Checklist
Before you export your next educational video, run through this checklist:
- [ ] Does the video meet the one-sentence goal?
- [ ] Are all filler words and dead air removed?
- [ ] Is the audio clear and normalized?
- [ ] Are key terms reinforced with on-screen text?
- [ ] Does the export match the platform's specs?
Save this checklist as a note in your project template. After a few videos, the process becomes second nature.
If you'd rather focus on teaching and leave the editing to someone else, MLHMTECH offers professional video editing and content production services for creators and brands. Visit mlhmtech.com to see how they can help you produce polished educational videos without the learning curve.