
You've got a great testimonial on camera—the client is genuine, the story is compelling—but the raw footage feels flat. Maybe the audio echoes, the pauses drag, or the client stumbled over their words. Editing is where a testimonial transforms from a nice compliment into a conversion tool. Here's exactly how to edit testimonial videos so they hold attention and persuade viewers to act.
Start With a Story Map, Not the Timeline
Before you touch a single clip, watch all the raw footage and write down the strongest 3–5 sentences. These are your "money quotes"—the lines that state the problem, the solution, and the result. A testimonial isn't a chronological interview; it's a mini-story arc.
- Problem: What pain point did the client have before your product or service?
- Solution: How did you help them?
- Result: What measurable or emotional outcome did they get?
- Recommendation: Why would they tell others to choose you?
Map each money quote to one of these beats. If a sentence doesn't fit a beat, cut it. This story map becomes your edit blueprint and prevents the common mistake of keeping footage just because it was hard to get.
Clean Up the Audio First (Yes, Before the Picture)
Viewers forgive average visuals but not bad audio. Testimonial interviews often have room echo, background hum, or uneven levels. Fix audio before you fine-tune cuts—it changes how you hear the pauses and breaths.
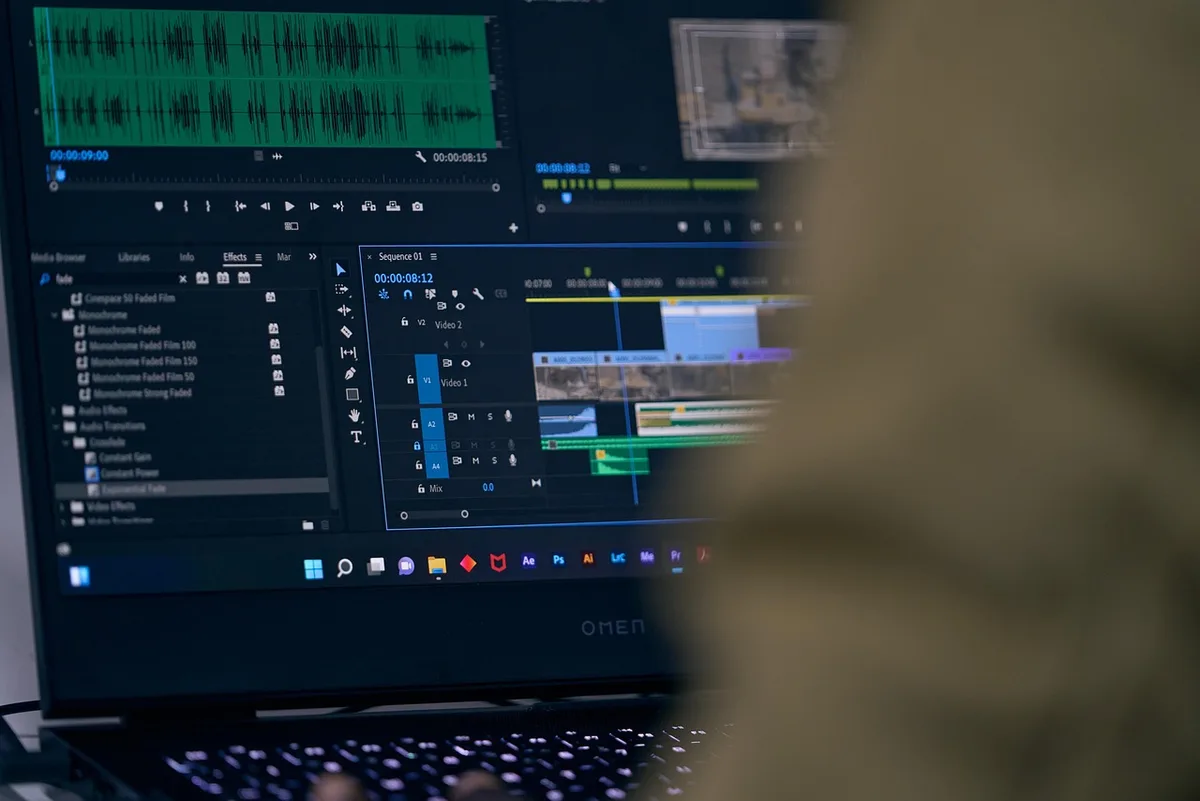
- Apply noise reduction in Adobe Premiere Pro (Essential Sound panel → Repair → Reduce Noise) or DaVinci Resolve (Fairlight → Noise Reduction). Use gentle settings; over-processing makes voices sound robotic.
- Use a De-esser to tame harsh "s" sounds. Premiere's DeEsser or Resolve's De-Esser works fine.
- Set loudness to -14 LUFS for social media and -16 LUFS for web. Use the Loudness Radar or a free plugin like Youlean Loudness Meter.
- High-pass filter at 80–100 Hz to remove low rumble from air conditioning or traffic.
If the client's voice is thin, a slight EQ boost around 3–5 kHz adds presence. But don't overdo it—natural is better than polished.
Cut for Rhythm, Not Just Content
A testimonial should feel like a conversation, not a monologue. The biggest editing mistake is leaving in every pause and filler word. But cutting too aggressively makes the speaker sound unnatural.
- Remove dead air longer than 0.5 seconds between sentences. Use ripple delete (Shift+Delete in Premiere) to close gaps.
- Keep natural breaths at the start of sentences—they signal a new thought. Cut breaths in the middle of a sentence.
- Trim "ums" and "ahs" but leave one or two if they make the speaker relatable. Perfectly clean speech can feel scripted.
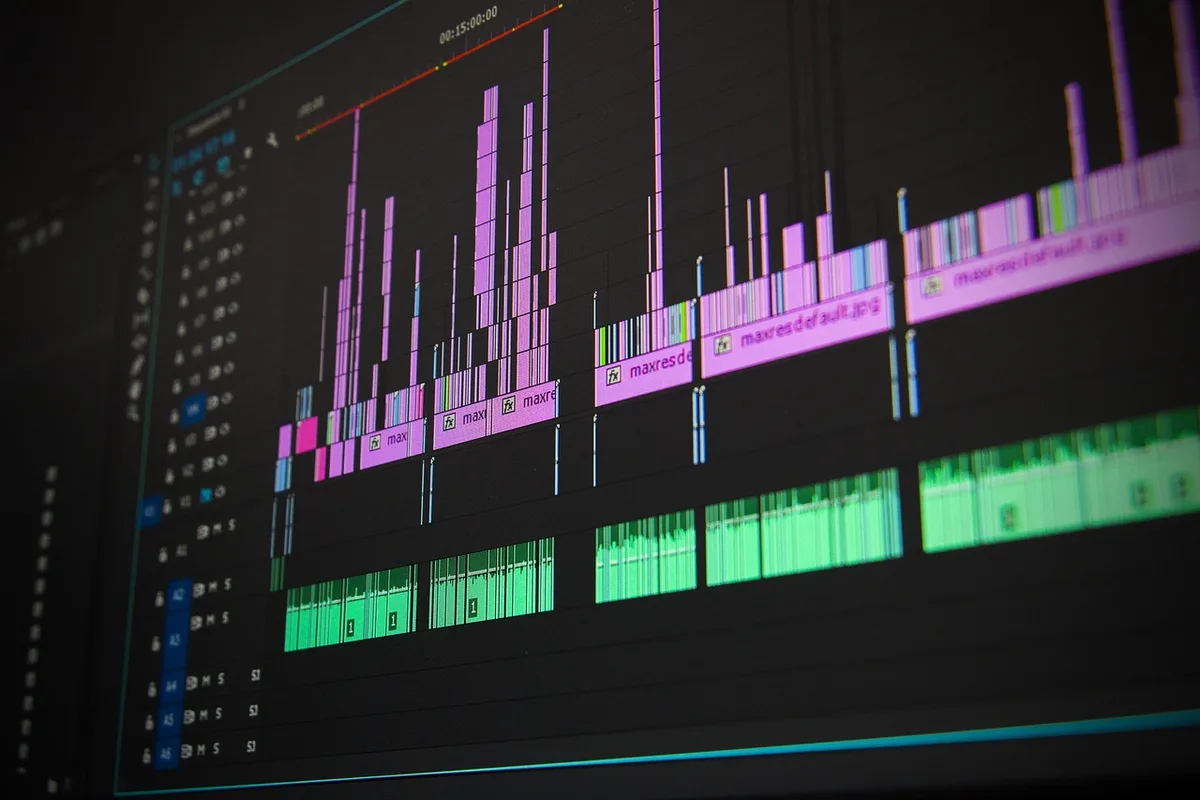
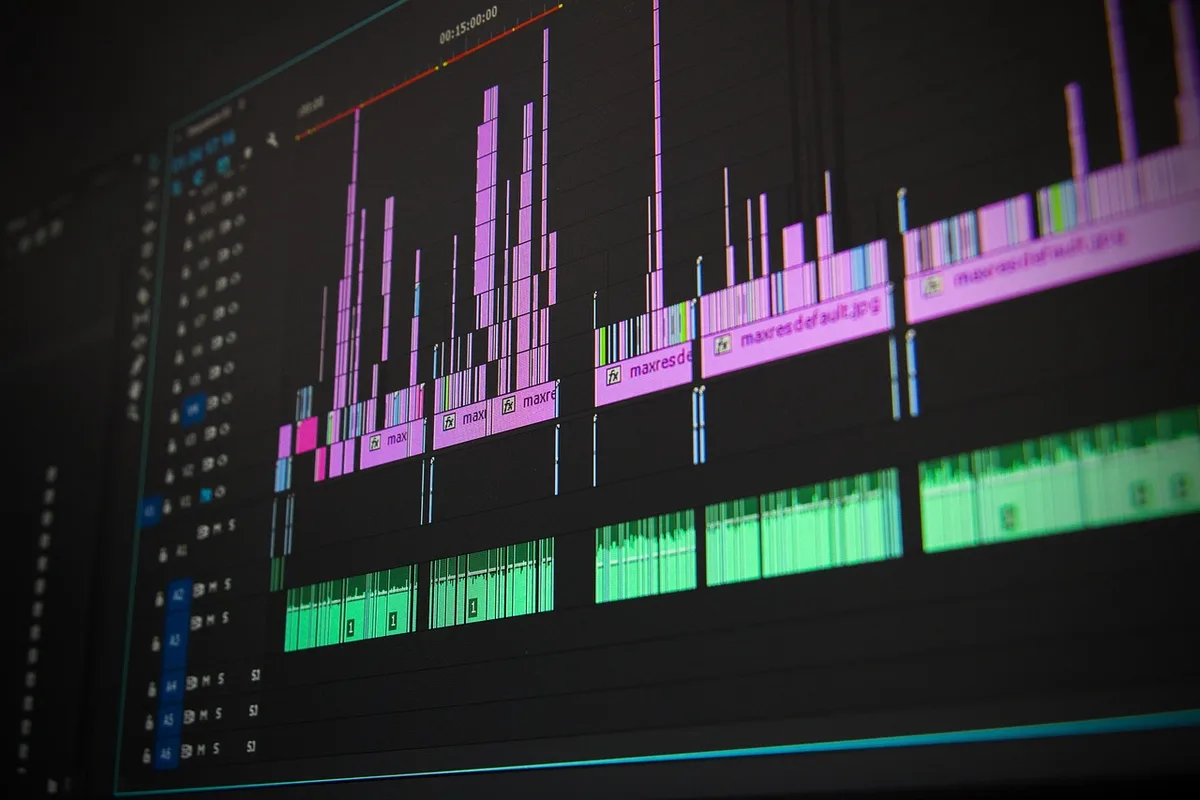
- Use J-cuts and L-cuts to overlap audio and video from different moments. For example, let the client's voice from the next sentence start while we still see their face from the previous shot. This hides cuts and keeps flow.
A good rule: if you notice the edit, it's too choppy. The viewer should be listening to the story, not counting cuts.
Add B-Roll and Graphics That Support the Story
Talking heads get boring after 20 seconds. B-roll breaks visual monotony and reinforces credibility. But don't just slap in random stock footage—every cutaway should illustrate what the client is saying.
- Show the product in use when they mention it.
- Show the result (a happy customer, a finished project, a dashboard metric) when they describe the outcome.
- Use lower-thirds to identify the speaker: name, company, and one credibility line (e.g., "Sarah Chen, Marketing Director at TechFlow").
- Add a subtle logo watermark in the corner—small and semi-transparent.
For social media versions, add captions. 85% of viewers watch without sound. Use auto-captions in Premiere or Resolve, then manually fix errors. Style them with a readable font (bold sans-serif), high contrast, and a background box or stroke.
Color Grade for Consistency and Warmth
Testimonial footage often comes from different cameras or lighting conditions. A simple grade unifies the look and makes the client look healthy and trustworthy.
- Apply a basic correction first: set white balance using a gray card or the whites of their eyes, adjust exposure so skin tones aren't blown out.
- Use a LUT (lookup table) for a quick cinematic feel, but reduce intensity to 50–70% so it doesn't look fake.
- Warm up skin tones slightly—a touch of orange in the midtones feels inviting.
- Keep backgrounds neutral—avoid distracting colors that pull focus from the face.
If you're editing multiple testimonials for the same brand, save your grade as a preset and apply it to all for consistency.
Pacing and Length: Respect the Viewer's Time
The ideal length depends on where the video lives. A website testimonial can run 60–90 seconds. A social media cut should be 15–30 seconds. Don't force a 3-minute story into 30 seconds—create multiple versions.
- Hook in the first 3 seconds: Start with the strongest result or a bold statement. "We doubled our leads in 60 days" beats "Hi, I'm Sarah."
- Front-load the payoff: Don't save the best quote for the end. Put it near the beginning, then explain how they got there.
- End with a clear CTA: "Visit example.com to see how" or "Book a demo today." Keep it on screen for at least 3 seconds.

Export Settings That Don't Ruin Quality
You've done the creative work—don't lose it to a bad export. Use these settings for web and social:
- Format: H.264 (MP4) for maximum compatibility.
- Resolution: 1920×1080 for web, 1080×1920 for vertical social.
- Frame rate: Match source (usually 23.976, 25, or 29.97 fps).
- Bitrate: 10–15 Mbps for 1080p. Higher bitrate means larger file but better quality.
- Audio: AAC, 320 kbps, stereo.
Always watch the exported file from start to finish on a phone and a laptop. What looks fine on your editing monitor might have clipping or sync issues elsewhere.
Final Takeaway: Edit for Trust, Not Perfection
The best testimonial videos feel authentic. Don't over-polish to the point where the client sounds like a paid actor. Keep the emotion, the natural pauses, and the genuine enthusiasm. Your job is to remove distractions—bad audio, awkward pauses, confusing structure—so the viewer hears the message clearly. Start with a story map, fix audio first, cut for rhythm, support with b-roll, and export cleanly. That's how you edit testimonial videos that actually convert.
If you'd rather hand this off to a team that does it every day, MLHMTECH offers professional video editing and content production services for creators and brands who want polished testimonials without the learning curve. Visit mlhmtech.com to see how they can help.