
You’ve filmed a solid workout, but the raw footage feels flat, the audio is muddy, and viewers drop off before the first set ends. Editing fitness videos isn’t about flashy transitions—it’s about pacing, clarity, and energy that matches the exercise. Here’s the exact workflow used by coaches and creators who need to publish consistently without sacrificing quality.
Start With a Storyboard (Even a Rough One)
Before you touch a timeline, map the video’s purpose. A 60-second Instagram Reel needs a different structure than a 10-minute YouTube tutorial. Ask: What should the viewer do after watching? Then sketch a simple sequence:
- Hook (0–3 seconds): Show the hardest or most visually interesting move first. No intros.
- Setup (3–10 seconds): State the goal (e.g., “3 moves for stronger knees”) and show the equipment.
- Main content (10–50 seconds): Break the workout into clear blocks. Each block = one exercise or one round.
- Call to action (last 5 seconds): Tell them to save, share, or follow.
This storyboard becomes your edit blueprint. It prevents the “I’ll just cut until it feels right” trap that eats hours.
Organize Footage Like a Pro (5-Minute Setup)
A messy media bin kills momentum. Create these folders before importing:
- A-Roll – talking head, full-body shots.
- B-Roll – close-ups of hands, feet, equipment, sweat.
- Audio – voiceover, music, sound effects.
- Graphics – logos, lower thirds, rep counters.
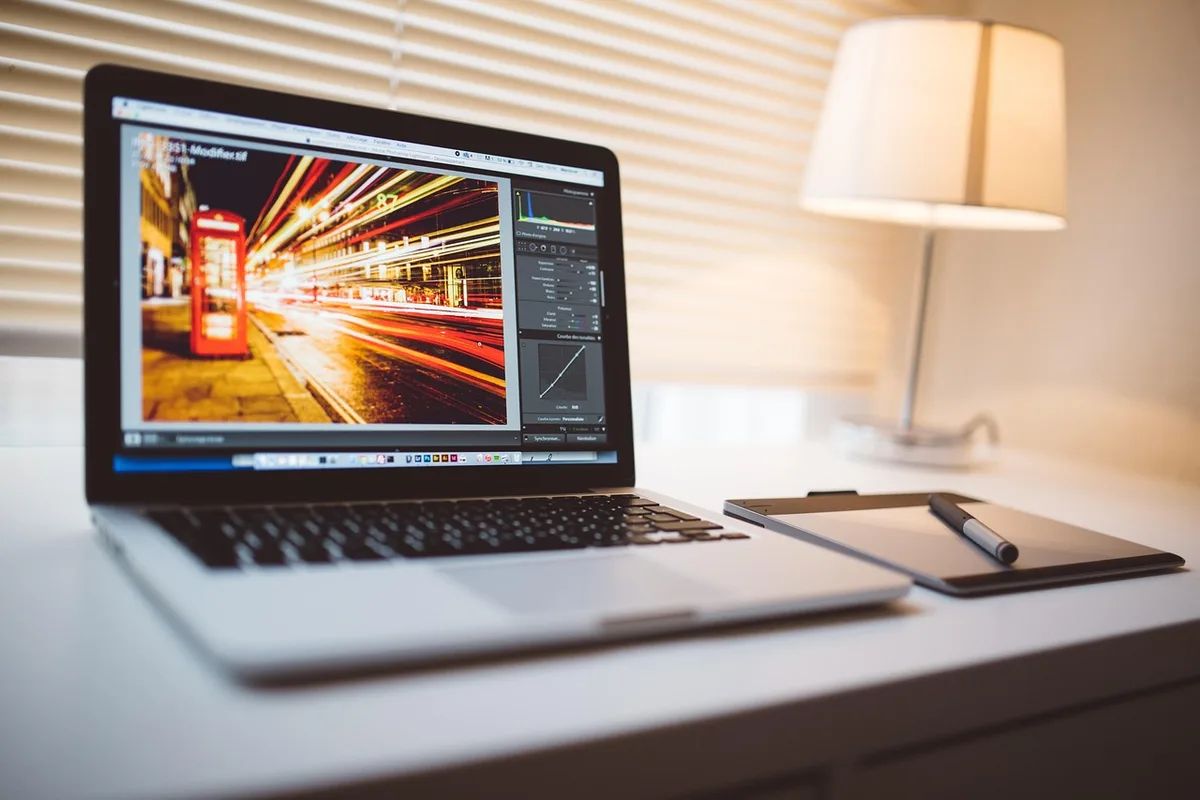
In Premiere Pro, use color labels: green for good takes, red for rejects. In DaVinci Resolve, use smart bins. This step alone cuts your edit time by 20–30% because you stop scrubbing through junk clips.
Cut to the Beat (Literally)
Fitness content lives on rhythm. Viewers expect cuts that land on the music’s beat—especially for high-intensity intervals. Here’s how to do it without guessing:
- Find the BPM: Use a free site like Tunebat or GetSongBPM. A 120 BPM track has a beat every 0.5 seconds.
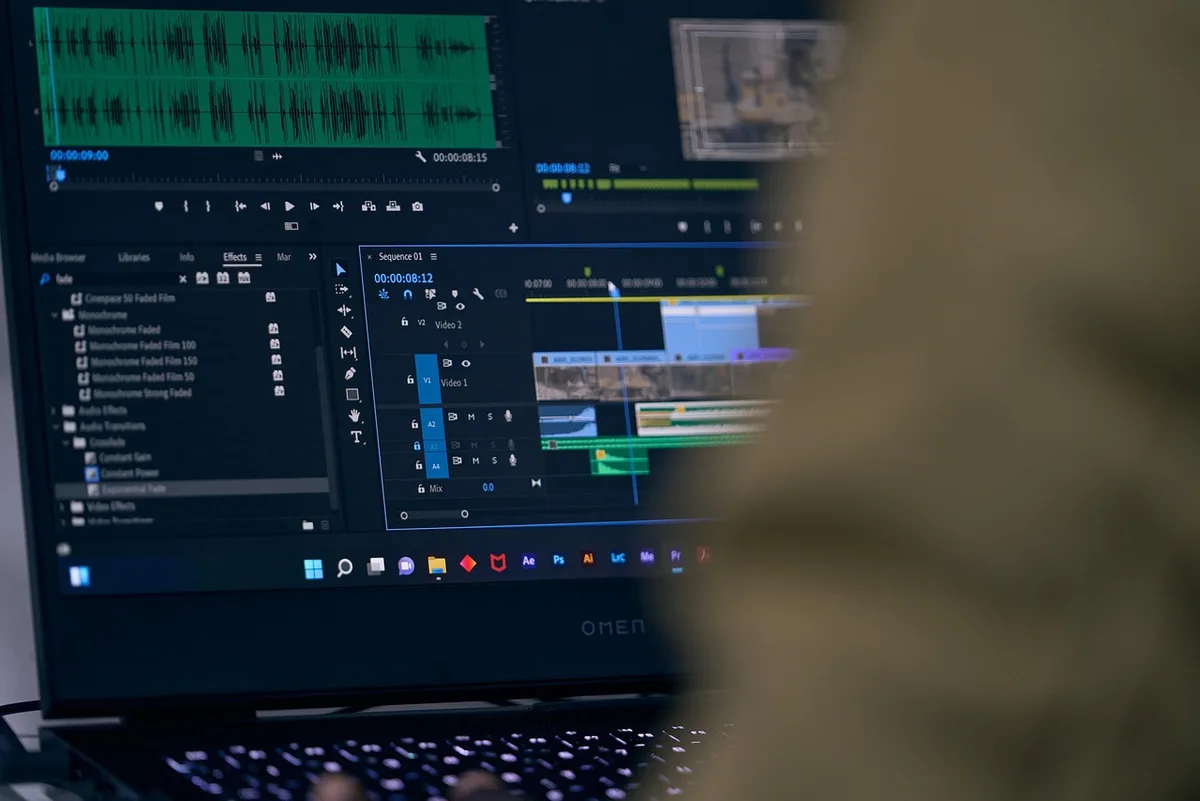
- Mark beats in your editor: In Premiere Pro, play the track and press M on each downbeat. In Final Cut Pro, use the Beat Detection feature.
- Align cuts: Place your exercise changes exactly on those markers. For a 30-second set, you might cut every 4 beats (2 seconds).
Don’t overdo it. A common mistake is cutting every single beat, which feels frantic. Use beat cuts for the main set, then hold a wider shot for 2–3 seconds during rest periods to let the viewer breathe.
Add Rep Counters and On-Screen Text That Actually Help
Viewers mute their phones during workouts. On-screen text isn’t decoration—it’s instruction. Follow these rules:
- Rep counters: Use a simple, bold font (e.g., Montserrat Bold) in the top third of the frame. Animate the number changing with a quick scale pop (100ms). Don’t use flashy 3D spins—they distract.
- Form cues: Add a short text callout like “Keep back flat” for 2 seconds during the movement. Place it near the body part, not in a corner.
- Timers: For timed intervals, overlay a countdown circle. In Premiere Pro, use the Essential Graphics panel; in CapCut, use the Timer sticker.
Keep text contrast high: white text with a 60% black background box, or yellow text with a dark outline. Test on a phone screen—if you can’t read it at arm’s length, it’s too small.
Fix Audio Before You Add Music
Bad audio ruins fitness videos faster than bad video. Start with these steps:
- Noise reduction: Apply a light denoise (Adobe Podcast Enhance or DaVinci Resolve’s Noise Reduction) to your voiceover. Don’t overdo it—aim for natural, not robotic.
- EQ: Cut below 80 Hz to remove rumble. Boost slightly at 3–5 kHz for clarity.
- Compression: Use a 3:1 ratio, threshold around -18 dB, to even out volume.
- Ducking: When music plays under voice, lower the music by 6–10 dB using keyframes or auto-ducking. In Premiere Pro, use the Essential Sound panel → Duck.
Music choice matters: pick tracks with a clear beat and no lyrics during instruction. Sites like Epidemic Sound and Artlist have “workout” filters.
Color Grade for Energy, Not Perfection
Fitness videos should look vibrant and clean, not cinematic. A simple grade:
- Exposure: Raise shadows slightly (+10) to see detail in dark gyms.
- Contrast: Add +15 to make muscles pop.
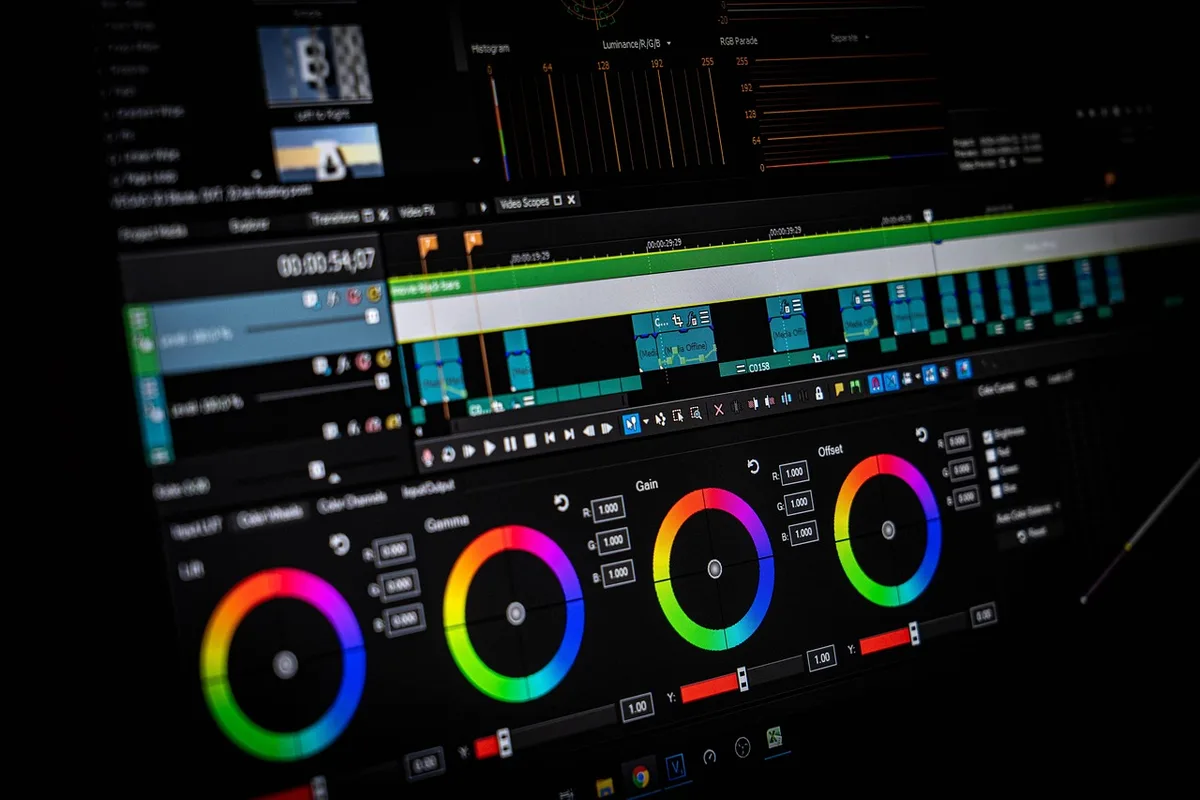
- Saturation: +10 to +15, but avoid orange skin—check skin tones with a vectorscope.
- LUTs: Use a free “clean” LUT (e.g., from Ground Control) at 50% opacity. Avoid heavy teal-and-orange grades; they date quickly.
If you’re editing in CapCut, the Adjust tab has all these sliders. Apply the same grade to every clip in the sequence for consistency.
Export Settings for Every Platform
One export doesn’t fit all. Use these presets:
- Instagram Reels / TikTok: 1080x1920 (9:16), 30 fps, H.264, 10–12 Mbps. Keep under 60 seconds.
- YouTube (long-form): 1920x1080 (16:9), 24 or 30 fps, H.264, 12–15 Mbps. Use chapters.
- YouTube Shorts: Same as Reels but up to 60 seconds.
- Client previews: Export a low-res H.264 (720p, 5 Mbps) for quick review.
Always export with audio normalized to -14 LUFS for social platforms. Premiere Pro’s Loudness Radar or Auphonic can help.
A Realistic 30-Minute Editing Workflow
Here’s how to edit a 60-second fitness Reel in half an hour:
- 0–5 min: Import footage, organize bins, and mark 3–4 best takes.
- 5–10 min: Lay down music, mark beats, and place main clips on beat.
- 10–15 min: Add rep counters and form cues.
- 15–20 min: Fix audio (denoise, EQ, duck music).
- 20–25 min: Apply a simple color grade.
- 25–30 min: Add hook text and CTA, then export.
This workflow forces decisions. You’re not aiming for perfect—you’re aiming for published.
Common Mistakes That Kill Fitness Videos
- Too many angles: Switching cameras every 2 seconds feels chaotic. Use 2–3 angles max per exercise.
- Ignoring the hook: If the first 3 seconds show you setting up equipment, viewers scroll. Start mid-movement.
- Over-texting: More than 3 text elements on screen at once = clutter. One instruction, one rep counter, one timer.
- Loud music: Music should support, not overpower. If you can’t hear the coach’s cue, it’s too loud.
- No captions: 85% of social videos are watched without sound. Burn in captions or use auto-captions (CapCut, Premiere Pro’s Speech to Text).
Your Next Step: Edit One Video With This Workflow
Pick a single 60-second workout clip and run it through the 30-minute workflow above. Don’t worry about fancy transitions—focus on beat-synced cuts, clear rep counters, and clean audio. Publish it, then note what felt slow. The second edit will be faster. Consistency beats perfection every time.
If you’d rather hand off the editing and focus on coaching, MLHMTECH offers professional video editing and content production for fitness creators and brands. Visit mlhmtech.com to see how they can turn your raw footage into platform-ready videos.