

You've shot a beautiful listing walkthrough, but the raw footage feels flat and endless. Buyers scroll past boring property videos in seconds, and you need yours to stop them. Editing is where good real estate footage becomes a video that actually sells.
Start with a Story, Not a Shot List
Before you touch a timeline, decide what the video is saying. A real estate video isn't a random tour; it's a guided experience. The best ones follow a simple arc: arrival, discovery, lifestyle, and closing detail.
- Arrival: exterior, front door, first step inside. Set the scene in 5–8 seconds.
- Discovery: main living areas, kitchen, bedrooms. Show flow, not every corner.
- Lifestyle: backyard, view, neighborhood, or a detail that sells the feeling.
- Closing: a wide shot or drone pullback with the agent's contact info.
Write this arc down as a shot list before importing clips. It saves hours of scrubbing and prevents the "everything but the kitchen sink" edit that kills retention.
Organize and Cull Like a Pro
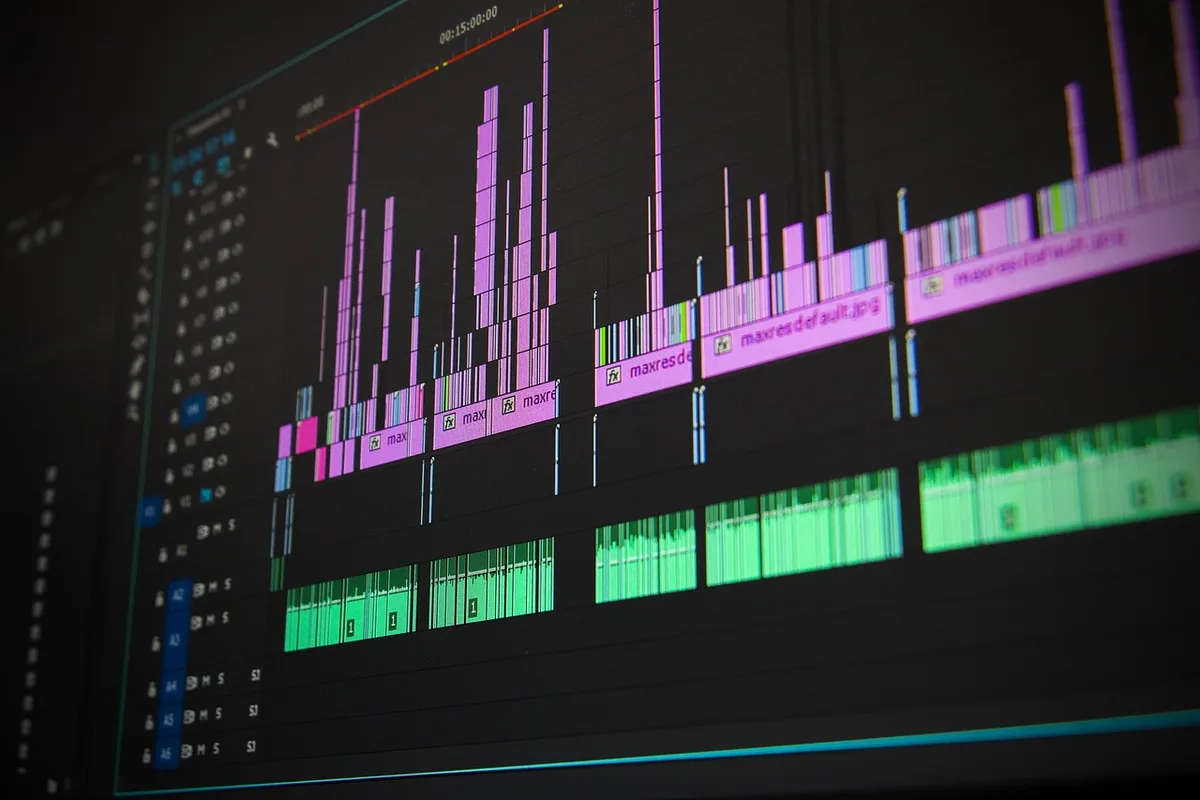
Import all footage into your editor (Premiere Pro, Final Cut Pro, DaVinci Resolve, or CapCut for quick jobs). Create bins or folders: Exterior, Interior, Details, B-Roll, Audio, Graphics. Then cull ruthlessly.
- Kill shaky or redundant clips. If you have three pans of the same living room, keep the smoothest one.
- Trim dead air. Cut the first and last second of every clip—that's where hands adjust and cameras settle.
- Flag hero shots. Mark the 3–5 clips that best represent the property. These get the most screen time.
A good rule: for a 60-second video, you need about 15–20 usable clips. More than that and the pacing suffers.
Set the Pace: Cut to the Beat
Real estate videos live or die by pacing. Slow, lingering shots feel luxurious; quick cuts feel energetic. Match the edit to the property and the music.
- Music first. Drop your track on the timeline before cutting. Then place cuts on downbeats or every 2–4 seconds for interior shots.
- Vary shot length. A 6-second drone reveal followed by three 2-second detail cuts creates rhythm.
- Use J-cuts and L-cuts. Let the audio from the next scene start before the visual cut (J-cut) or let the current audio trail over the next shot (L-cut). This makes transitions feel seamless.
- Avoid flashy transitions. A simple cross-dissolve or hard cut is enough. Wipes and spins scream amateur.
Color Correct and Grade for Consistency
Raw footage from different rooms or cameras will have mismatched white balance and exposure. Fix that first, then add style.
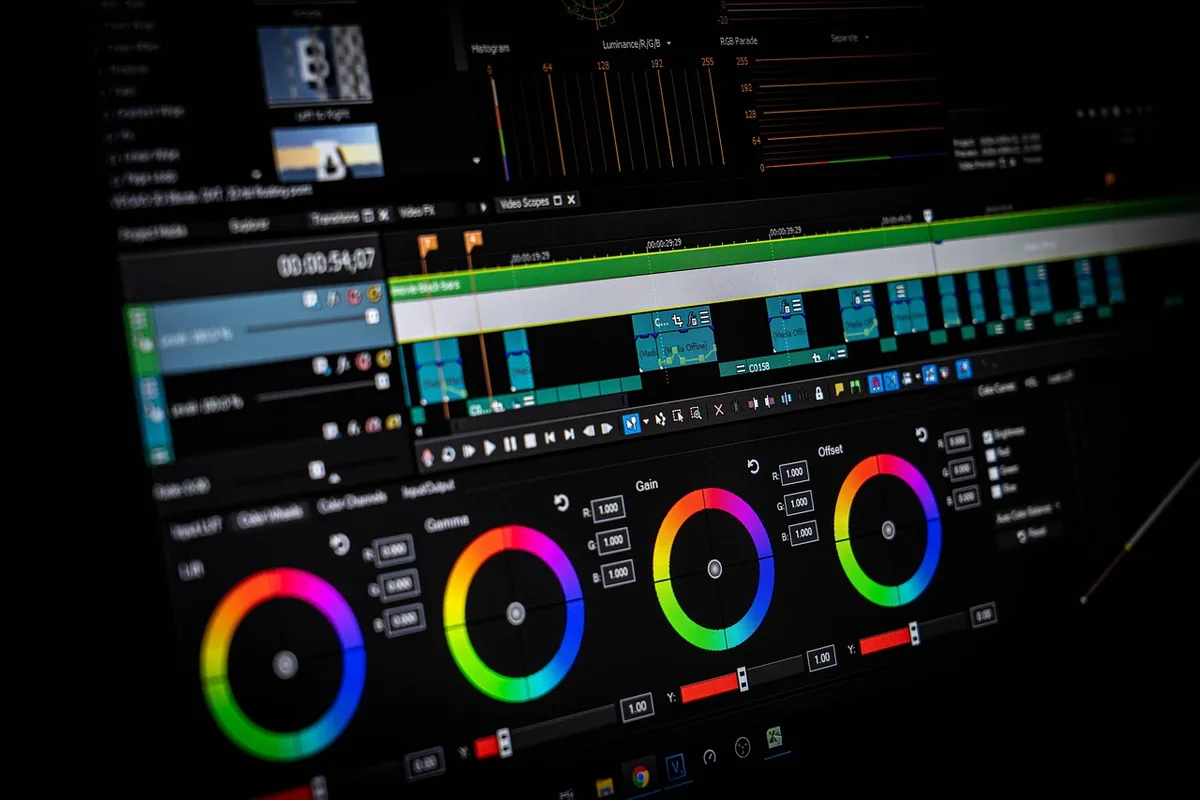
- Balance exposure. Use scopes (waveform, vectorscope) to keep highlights from clipping and shadows from crushing.
- Match white balance. Pick a neutral reference (white wall, ceiling) and sync all clips to it.
- Apply a subtle grade. Real estate videos should look clean and inviting, not cinematic dark. Lift shadows slightly, warm the highlights a touch, and boost saturation by 5–10%.
- Use LUTs sparingly. A light LUT can speed things up, but reduce its intensity to 30–50% so skin tones and wood floors stay natural.
Consistency matters more than style. A viewer should never notice a color jump between rooms.
Audio: The Secret to Professional Feel
Bad audio makes good video feel cheap. Real estate videos usually have three audio layers: music, voiceover, and natural sound.
- Music: choose a track that matches the property's vibe—upbeat for family homes, ambient for luxury. Keep it at -18 to -12 dB under dialogue.
- Voiceover: record a scripted 30–60 second narration. Speak slightly slower than normal and smile while talking; it changes tone.
- Natural sound: add subtle room tone or outdoor ambience at low volume to prevent dead silence.
- Remove noise: use your editor's denoise tool (Premiere's DeNoise, Resolve's Noise Reduction) on any clips with wind or HVAC hum.
If the agent is on camera, mic them with a lavalier. If not, a voiceover is faster and often more polished.
Add Graphics That Inform, Not Distract
Text overlays should answer buyer questions instantly: price, square footage, number of beds/baths, and location. Keep them minimal.
- Lower thirds: agent name and contact, shown for 4–5 seconds max.
- Property specs: a clean bar at the bottom with key numbers. Use a readable sans-serif font.
- Call to action: end screen with website and phone number for at least 5 seconds.
Avoid animated stickers, emojis, and busy templates. Clean and simple reads as trustworthy.
Export Settings That Look Good Everywhere
Your video will be watched on phones, laptops, and TVs. Export for the lowest common denominator: mobile.
- Resolution: 1080p is enough for most listings; 4K only if you need to crop or deliver to high-end clients.
- Frame rate: match your shooting frame rate (24, 30, or 60 fps). Don't mix.
- Bitrate: 10–15 Mbps for 1080p H.264. Higher bitrate means larger file, not always better quality after platform compression.
- Format: MP4 (H.264) for universal compatibility.
- Audio: AAC, 320 kbps, stereo.
Upload a test to YouTube or Vimeo and watch on your phone before delivering. If it looks good there, it'll look good on MLS and social media.
Final Checklist Before You Hit Export
Run through this every time:
- Does the first 3 seconds show the best exterior or hero shot?
- Is the video under 90 seconds? (60–90 is the sweet spot for listings.)
- Are all text overlays legible on a phone screen?
- Is the music volume balanced with voiceover?
- Are there any accidental jump cuts or flash frames?
- Does the ending include a clear call to action?
Practical Takeaway
Open your editor, import your clips, and build the story arc first—arrival, discovery, lifestyle, closing. Then cut to the music, match colors, and clean up audio. Export at 1080p H.264 and test on your phone. You'll have a polished real estate video in under two hours.
If you'd rather hand off the editing and get a scroll-stopping property video back without touching a timeline, MLHMTECH offers professional video editing and content production for real estate agents and brands. Visit mlhmtech.com to see how they can help.