

You’ve recorded a great match, but the raw footage is long, the audio is unbalanced, and the funny moments get lost. Editing gaming videos is how you turn that raw gameplay into something people actually watch to the end. This guide walks you through a repeatable workflow—from organizing clips to exporting—so you can edit faster and keep viewers hooked.
Choose the Right Editing Software for Gaming
You don’t need Hollywood tools to edit gaming videos well. Pick software that matches your hardware and how much control you want over effects.
- DaVinci Resolve (free) – Best for color grading and professional audio tools. It’s resource-heavy but handles 4K gameplay well if you have a decent GPU.
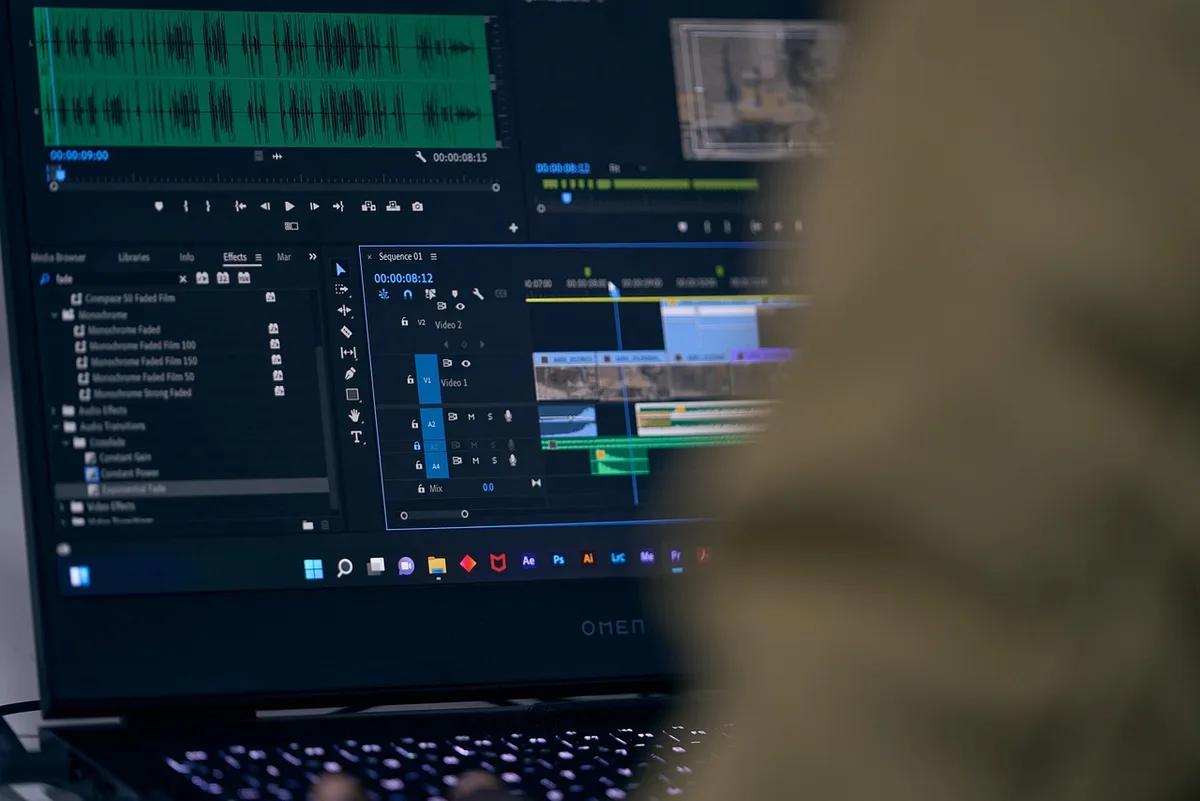
- Adobe Premiere Pro – Industry standard with tight integration to After Effects for motion graphics. Great if you already pay for Creative Cloud.
- Final Cut Pro – Mac-only, extremely fast rendering, and optimized for Apple Silicon. Ideal for quick turnarounds.
- CapCut – Free and beginner-friendly, with built-in templates for gaming edits. Good for short-form content like TikTok and Reels.
If you’re on a budget, start with DaVinci Resolve. It’s free and powerful enough for professional gaming channels. If you need speed and simplicity, CapCut or Premiere Pro’s auto-reframe features save hours.
Organize Your Footage Before You Edit
Skipping organization is the biggest time-waster in gaming video editing. Do this once and every future edit gets easier.
- Create a project folder with subfolders:
Gameplay,Audio,Graphics,Exports. - Rename clips with a consistent format:
GameName_Date_Session#. For example,Valorant_2025-03-21_S1. - Log your best moments in a simple text file or spreadsheet with timestamps. Use a hotkey during recording (like OBS’s replay buffer) to mark highlights.
- Import into your editor and set up bins or smart collections for each game or session.
This step alone can cut your editing time by 30–40% because you’re not scrubbing through hours of footage to find that one clutch.
Build a Story, Not Just a Highlight Reel
Great gaming videos have a narrative arc—even if it’s just a funny fail or a ranked climb. Viewers stay for the story, not just the kills.
- Start with a hook – Show the most intense moment in the first 5–10 seconds, then rewind to explain how you got there.
- Use a three-act structure – Setup (the challenge), confrontation (the struggle), resolution (the win or loss).
- Add context with text or voiceover – A quick on-screen caption like “Ranked Gold 3” or “No heals left” helps viewers understand the stakes.
- Cut dead air – Remove loading screens, menu navigation, and long walks. Keep the pace tight.
For montages, group clips by theme (e.g., sniper kills, funny glitches) and use music to drive the energy. For let’s plays, keep commentary continuous and cut only when nothing interesting happens.
Edit Audio Like a Pro (It Matters More Than Video)
Bad audio kills gaming videos faster than bad visuals. Viewers will forgive average graphics but not muddy voice or blown-out game sound.
- Set levels – Voiceover peaks at -6 dB, game audio around -18 dB to -12 dB, and music at -20 dB. Use a limiter on the master track to prevent clipping.
- Use noise suppression – In Premiere Pro, try the Essential Sound panel’s “Reduce Noise” or use a free plugin like NVIDIA Broadcast for live recording.
- Separate game and voice tracks – Record them on separate channels so you can mute game audio during commentary or boost it during cinematic moments.
- Add subtle sound effects – Whooshes on transitions, clicks on text pop-ups, and a low bass hit on big plays make the edit feel polished.
A quick trick: apply a high-pass filter at 80 Hz to your voice track to remove rumble, then a gentle compressor to even out volume.
Add Visual Effects Without Overdoing It
Effects should enhance, not distract. Use them sparingly and consistently.
- Zoom punches – A quick 110% scale-up on impact moments (like a headshot) adds energy. Keyframe it over 3–4 frames.
- Speed ramps – Slow down to 50% for dramatic effect, then speed back to 100% or 200% for fast action. Use time remapping in Premiere or speed curves in Resolve.
- Text and captions – Keep fonts readable (bold sans-serif) and place them in the lower third or top corner. Animate them with a simple slide or fade.
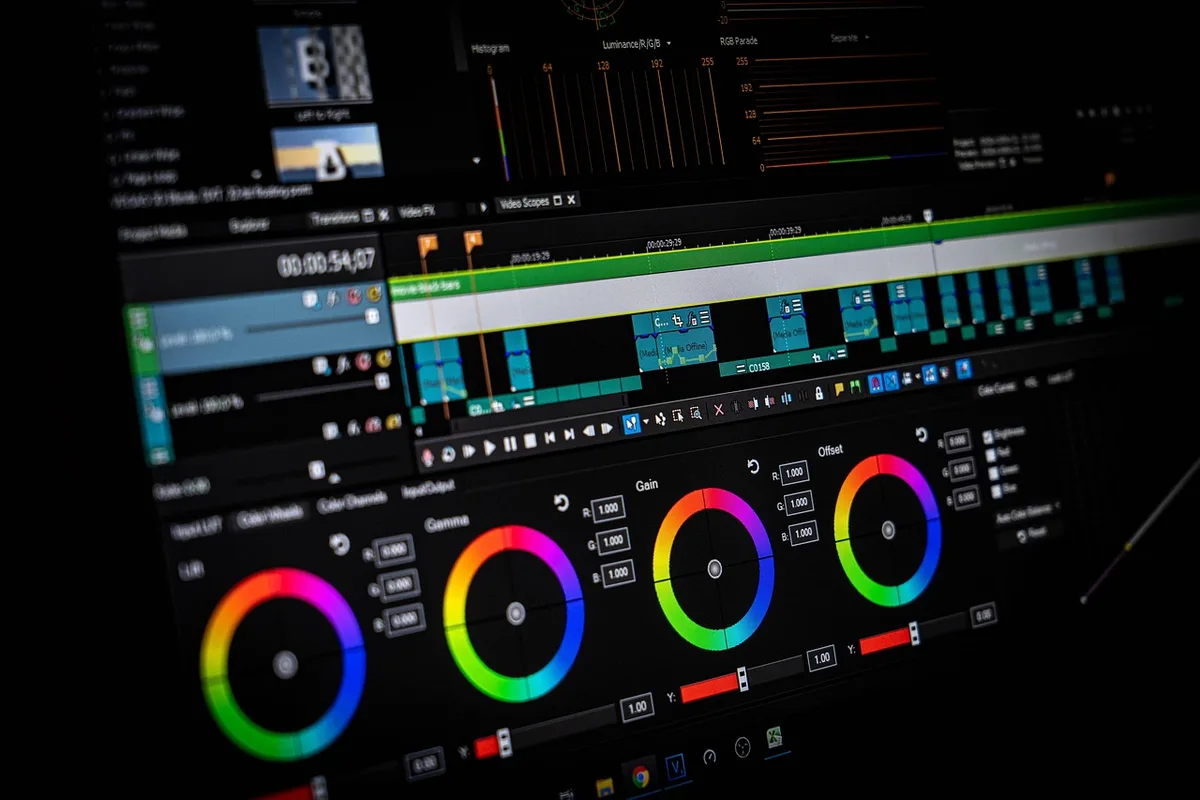
- Color grading – Apply a LUT for a cinematic look, but adjust exposure and contrast per clip. Don’t let highlights blow out.
Avoid stacking too many effects on one clip—it looks amateurish. Pick two or three signature moves and repeat them for brand consistency.
Export Settings for YouTube and Twitch
Exporting with the wrong settings can ruin all your hard work. Use these as a starting point:
- YouTube (1080p 60fps) – H.264 codec, bitrate 12–15 Mbps, audio AAC at 320 kbps.
- YouTube (4K) – H.265/HEVC if your editor supports it, bitrate 40–50 Mbps.
- Twitch highlights – H.264, 1080p 60fps, bitrate 6–8 Mbps (Twitch’s max is 6 Mbps for live, but highlights can be higher).
- TikTok/Reels – 1080x1920 vertical, H.264, 8–10 Mbps.
Always export a short test clip first to check for dropped frames or audio sync issues. Use hardware encoding (NVENC or Apple VT) if available to speed up rendering.
Speed Up Your Workflow with Templates and Shortcuts
Editing gaming videos repeatedly means you should build a system.
- Create a template project with your intro, outro, lower thirds, and audio track layout already set up.
- Learn 10 essential shortcuts – In Premiere: Q (ripple trim start), W (ripple trim end), Ctrl+K (add edit), Shift+Delete (ripple delete), and M (marker). In Resolve: B (blade), A (select), and Ctrl+Shift+C (copy attributes).
- Use proxy files – For 4K gameplay, create low-res proxies to edit smoothly, then swap back to full resolution before export.
- Batch export – If you’re making multiple shorts from one stream, use the export queue or watch folders.
These small habits compound. A 20-minute edit becomes a 10-minute edit.
Final Takeaway: Start with One Change
You don’t need to overhaul everything at once. Pick one improvement from this guide—organizing your footage, setting audio levels, or building a template—and apply it to your next video. Then add another. Within a month, your editing speed and quality will noticeably improve.
If you’d rather focus on playing and creating while someone else handles the edit, MLHMTECH offers professional video editing and content production services for creators and brands. Visit mlhmtech.com to see how they can turn your raw gameplay into polished, publish-ready videos.